Makeup lesson with Cindy of Mecca Maxima - review

When it comes to makeup I am a lover, fan, avid buyer, but certainly not a master of creating a flawless look.  Typically, something goes astray because my hands have a tendency to be a bit shaky. With practice I think and hope that the uncertainty/shakiness will subside.  Until then, I need to gobble up as many tips out there; it's one thing to swatch, but I am striving to show and teach you a thing or two whenever you stop by Bagful of Notions. In addition to the rather brave and bold Burberry lip gloss I received for Christmas, I was also given a few other lovely gifts - one of those items happened to be a gift card to Mecca Cosmetica.  This card entitled me to one makeup lesson where the full value of the card was redeemable for makeup carried by Mecca.  A lot of cosmetic counters partake in this practice; a beauty professional will offer their time in exchange for buying a few of their wares.  Keep in mind this is sometimes free on weekdays and varies from company to company.  Alternatively, an appointment is expected to be made and a minimum purchase is usually set for the weekend due to the change in clientele; do your homework before jumping in.

During my shopping excursion last week, I visited Mecca with the hope someone was there to educate me.  Alas, their best artist, Cindy, was out that day, but was definitely available on New Year's Eve - perfect!  I made a mental list of what I wanted to accomplish during my lesson and reminded myself to not be afraid of asking questions.  Here's a list of what I think we attained during my lesson:

  • Foundation application on my sensitive skin; I just got diagnosed with rosacea, bummer :(
  • How to properly apply gel liner with a brush
  • Preventing eyeshadow creasing

Cindy listened to my questions and concerns and then wandered around the store in order to equip herself with the products she wanted to try on me.  I figured honesty was the best policy in regards to sharing what's been going on with my skin; direct sunlight and I don't mix well anymore.  What I thought was adult onset acne ailing me this past year, really turned out to be a mild form of rosacea. With the aid of antibiotics, knowing what my trigger(s) are (the sun), the use of mild skin care products and using 30 SPF religiously has helped to balance my skin out.

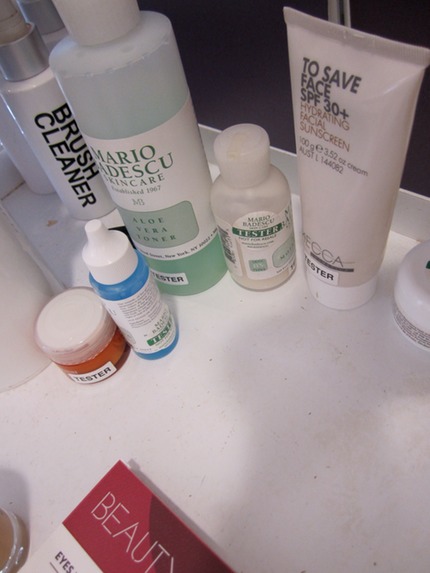
Cleansing my face was the first item on the menu; Cindy started with Mario Badescu's line and thankfully I didn't experience any stinging or breakouts afterward.  Here's a look at what she used for this part of the process:

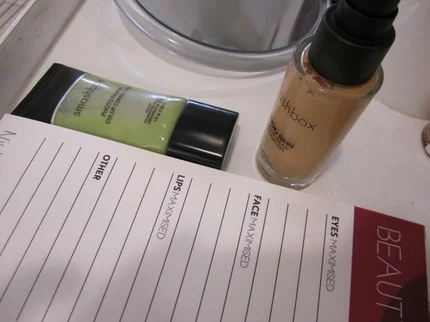
Onward Cindy went and tackled my foundation concerns; this included finding the right brand to help protect my skin, as well as honing in on something light but buildable in terms of coverage and more important - colour matching.  We settled on Smashbox's Primer in green which helped to combat the red in my skin, Studio Skin Foundation and Halo Powder to set.  While I am not a huge fan of using primer, Cindy educated me about why it's a good idea to use primer in conjunction with foundation; it creates a great base for your foundation to sit on top of and minimizes foundation from moving around and finding fine lines, wrinkles and pores.  Consider it one of the first big steps in creating a blank and flawless canvas.

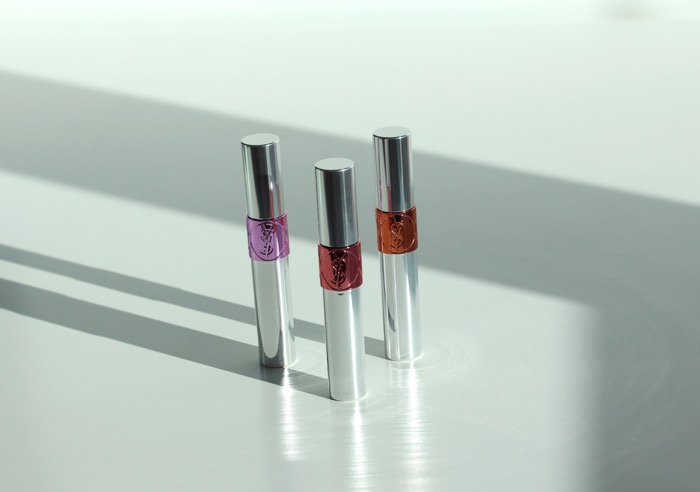
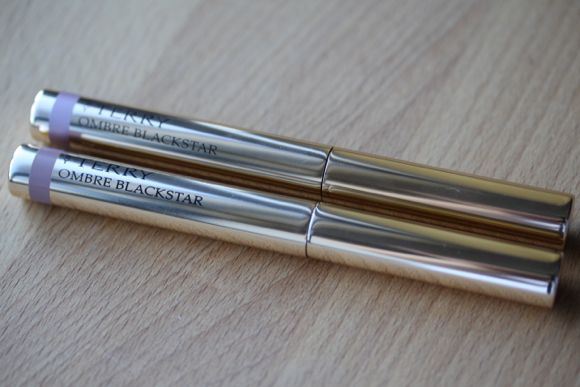
Cindy threw in Bobbi Brown's under eye corrector and By Terry concealer (similar to YSL's Touche Eclat sans the highlighting properties) to cancel out the blue around my eyes.  Usually I hide this problem area with Bobbi Brown's creamy concealer kit, but I must admit it was nice trying something new. Although, I am not ready to give up my kit just yet.

A tip I learned about Bobbi Brown's corrector is I can apply and go without setting it with liquid foundation or powder; this product really does help to neutralise my under eye circles.  A definite low maintenence win in the morning! Also, for foundation newbies: start applying from the center of your face and work your way out; Cindy said this is a main focal point and is often the place where the most coverage is needed.

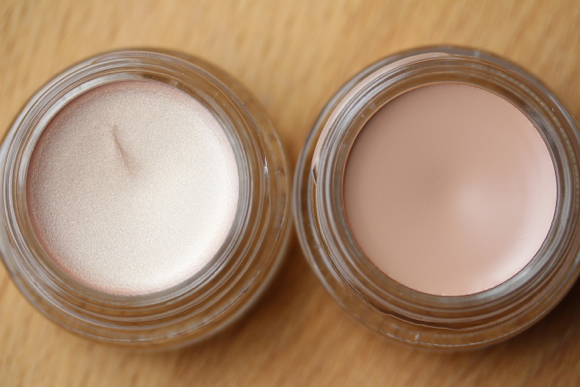
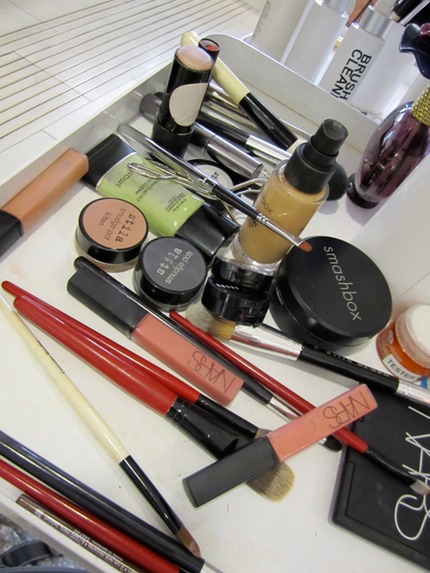
Once makeup trickery was completed on my face, we then moved onto my eyes.  While I do love a good smoky eye, the traditional colours used leave me looking like a raccoon.  It's not pretty.  Browns and golds are more my speed and also help to accentuate my hazel eyes.  First, Cindy started with Stila's smudge pot in 'kitten', this was applied from my lashes to my brow bone.  Then she went back in with Stila's smudge stick in 'lionfish' and applied it along my lash line; Cindy then smudged the fine line with the smaller end of this brush.  The smudging and blending of the golden brown liner created the smokiness I was looking for.  Be sure to do this straightaway in order to avoid having this product set and dry unless you're looking to line your eyes.  The last colours she added were Stila's eye shadows in 'wheat' (applied all over my lid) and 'barefoot contessa' (blended over 'wheat' starting from the middle and through to the outer corner of my eye).

The final thing I wanted to learn was lining my eyes with gel liner like a pro.  Cindy believes once you finish applying the various shadows, it is best to go back in with your liner; I likened this practice to wrapping a package with a pretty bow.  But, as you might recall, I am not terribly handy, no pun intended, or steady.  My fears were calmed by Cindy when she introduced me to this little guy.  After a quick tutorial, which involved Cindy using her hand like a sketch pad.  This part of the lesson allowed her to show me how to properly hold the brush and how to dash the bristles along the lashes a la morse code.  With a flick of the corner of the brush with a small amount of Stila's smudge pot in 'black', Cindy then illustrated how to accomplish the cat eye effect.  Colour me smitten!  Being the great teacher Cindy is, she asked me if I'd like to have a try at lining one of my eyes, but I wasn't in the mood to ruin her artistry.

Another great tip I learned is if your gel liner pot looks like it's drying out on the surface, don't throw it out.  Use the end of a brush to stir up your product; the gel will most likely be fresh underneath!

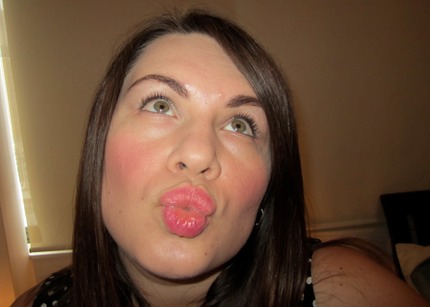
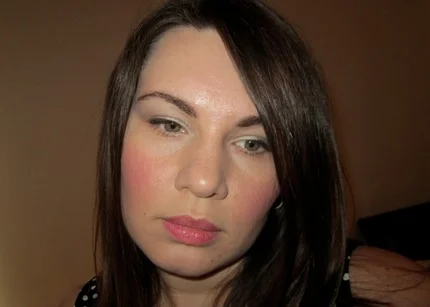
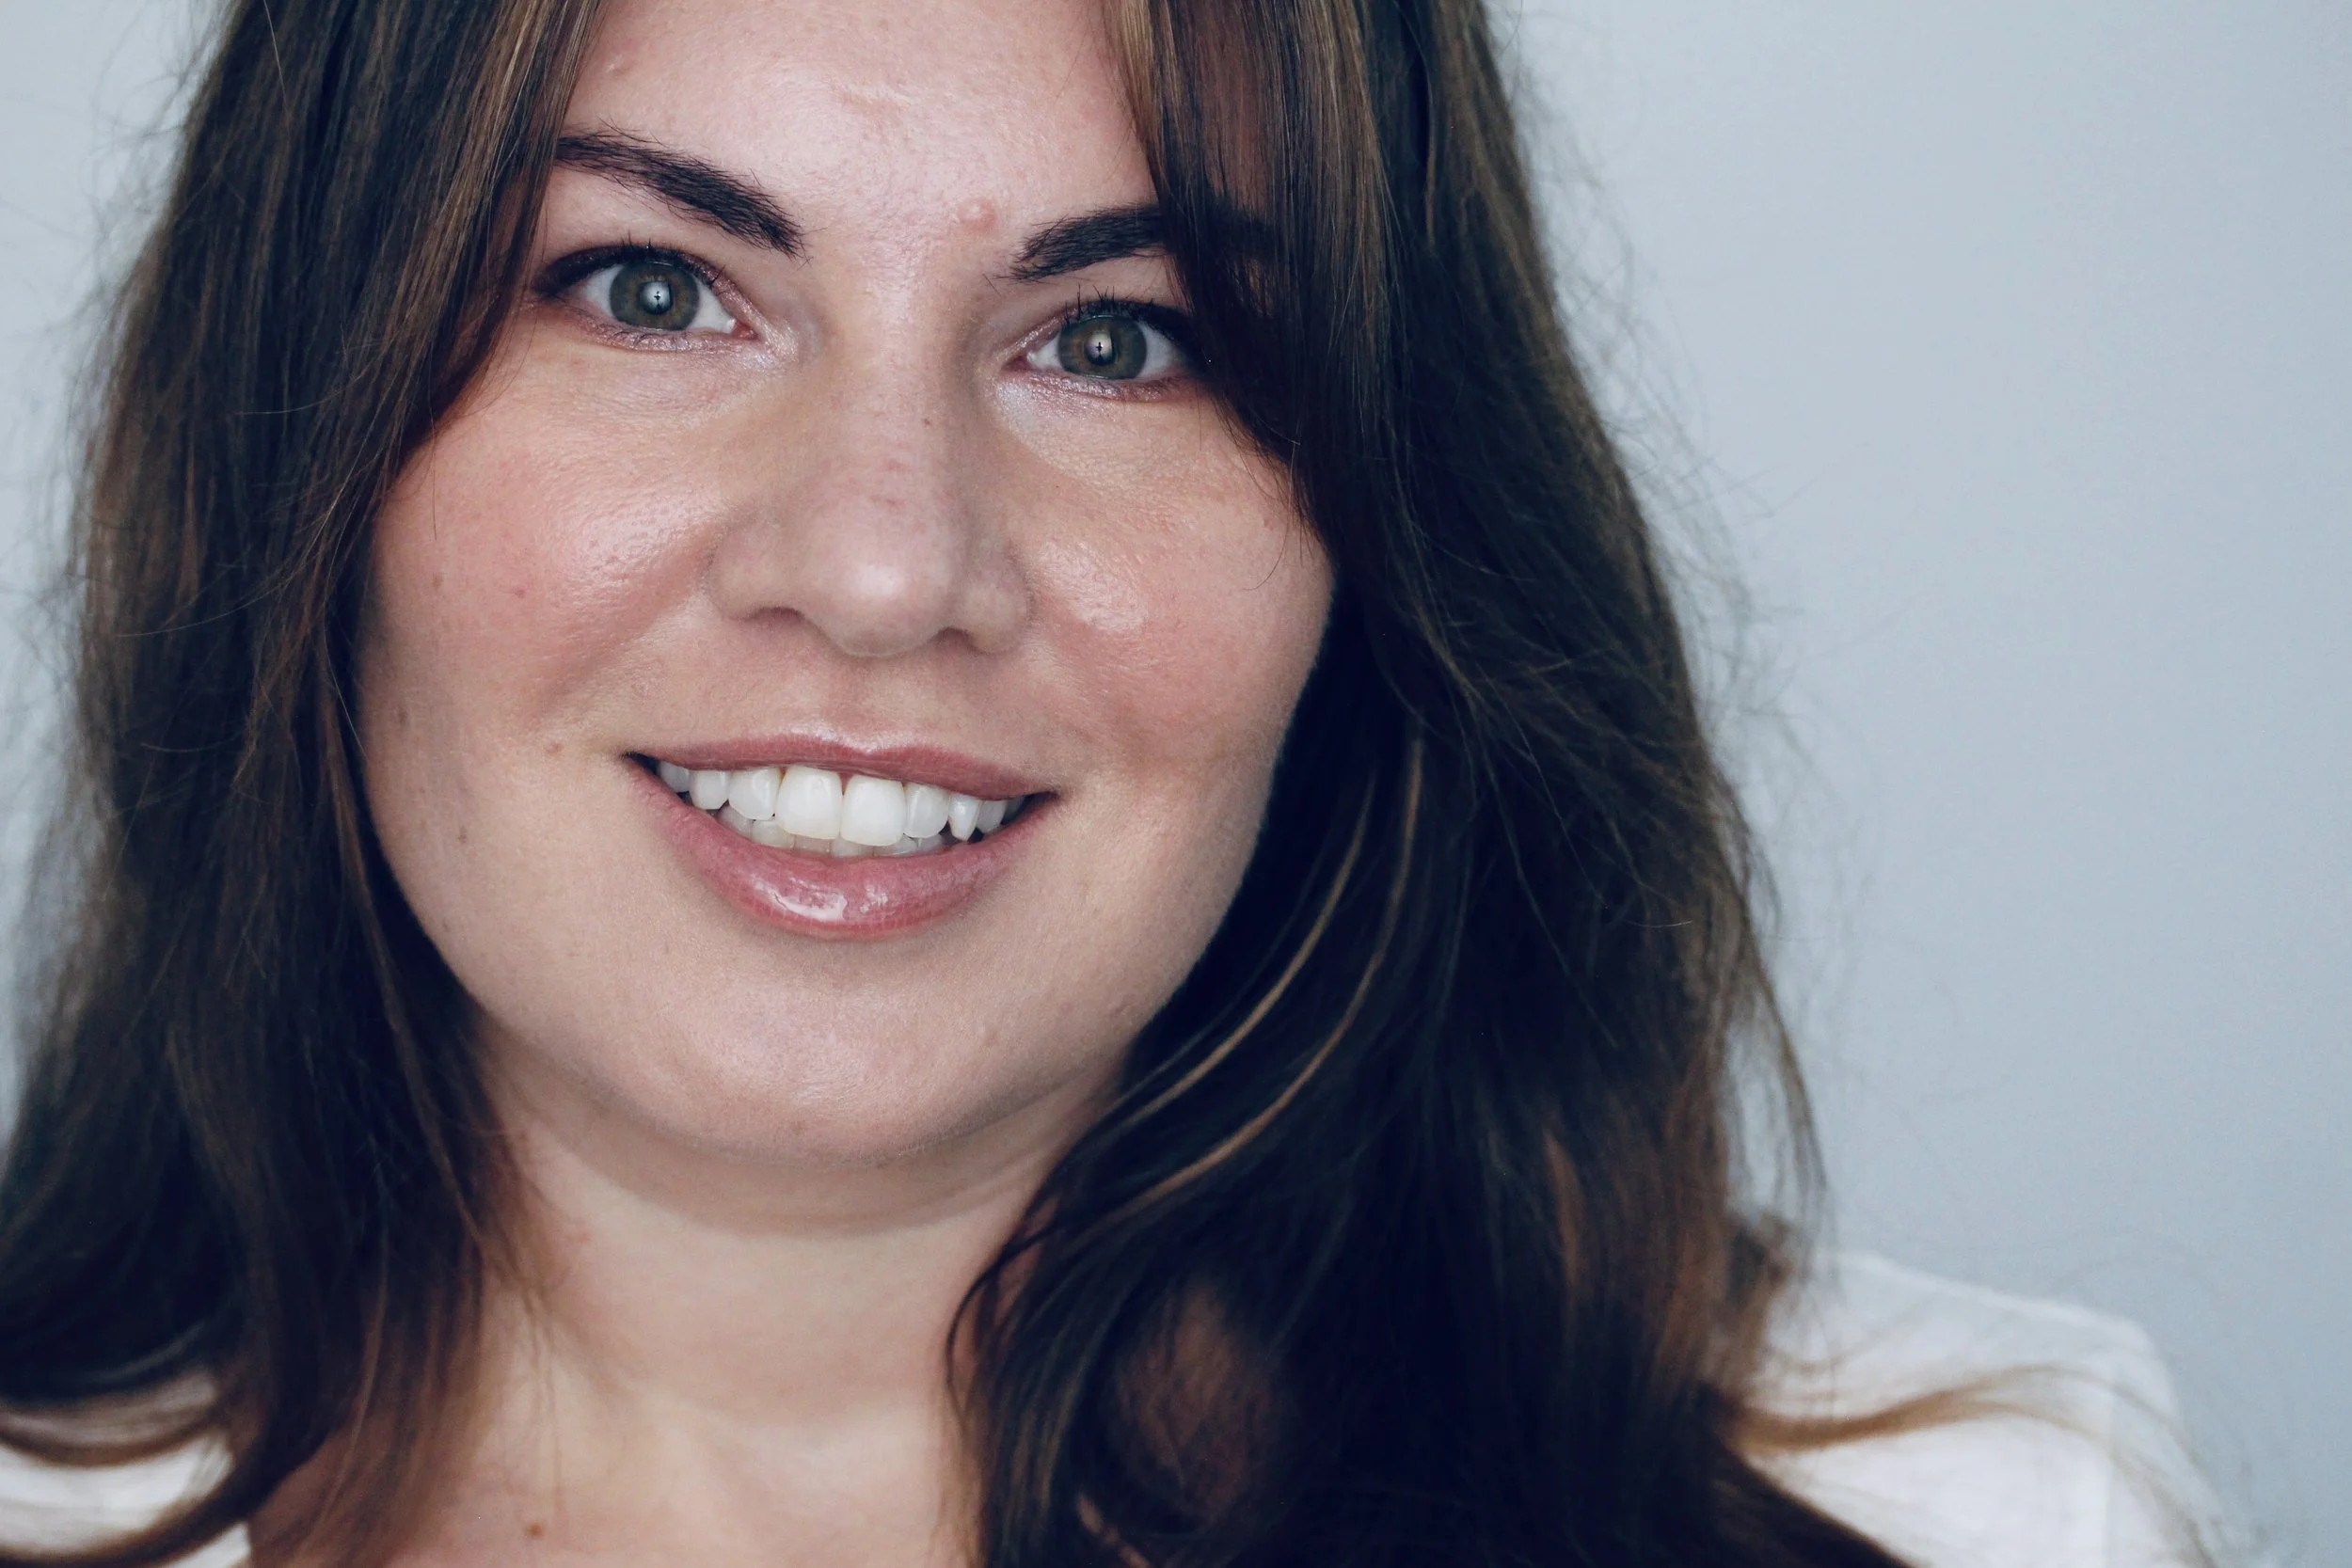
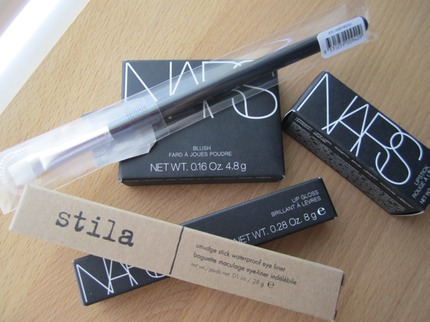
Since it was New Year's Eve, Cindy added a few lashes to the outer corners of my eyes to amp up the drama.  A bit of blush, NARS Luster layered over Gilda, was applied to my cheeks and for my lips we went with NARS Niagara and Greek Holiday.  I believe Cindy's a big fan of lippie.  When she was swatching the assorted tubes of lipsticks and glosses, I should've taken a picture as she brought over six or seven colours for my consideration.  Cindy also pointed me to creamier formulas - however, I'm not sure when I'll be ready to try;)  Twist my arm!

A few other items used which helped to complete this look:

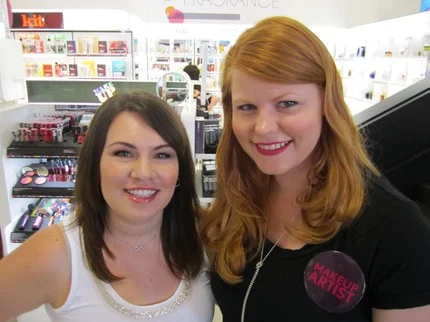
Getting to know Cindy:

When Cindy isn't painting pretty faces at Mecca Maxima (twice weekly), you can find her teaching at a local beauty school in Melbourne. Cindy is armed with close to ten years experience in the beauty industry - she knows her stuff!  Aside from being a makeup guru, she is also extremely knowledgable about proper skin care and health.

Cindy's calm demeanour and sweet personality made for an extremely enjoyable experience - I will be sure to harass her whenever she's working.  If you ever want to meet with Cindy for a lesson, I would strongly recommend making an appointment with her in advance due to her limited schedule.

Cindy's been praised by her co-workers as being the best and she is!

The Bagful breakdown:

Total amount for one 90 minute lesson (a gift from Santa Scott):

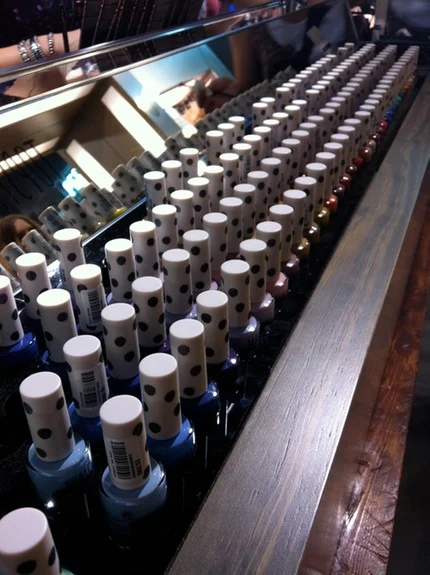
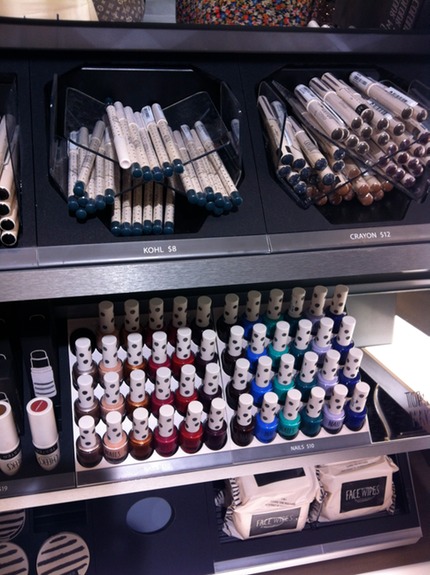
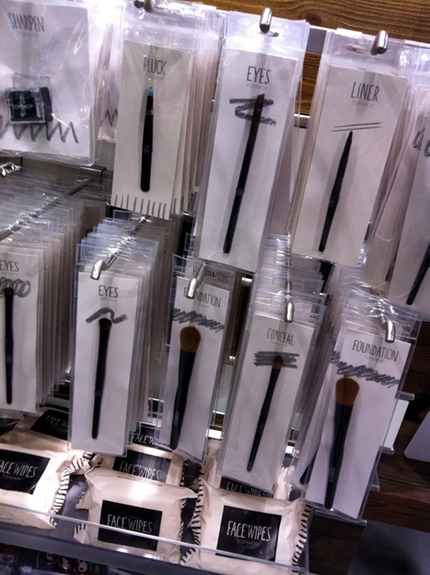
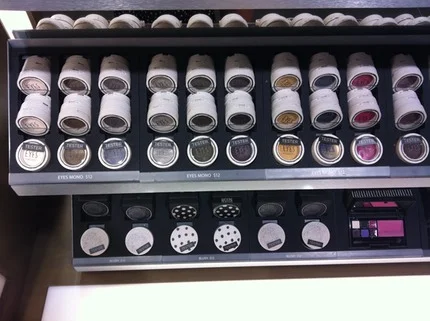
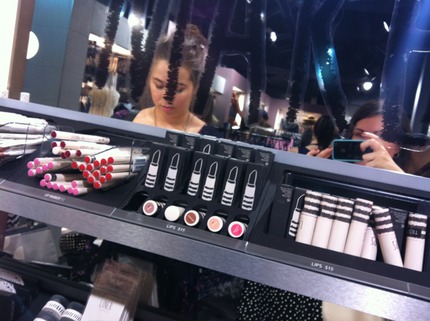
  • $150.00 AUS - here's a look at what else is available in store

Value for money spent (performance and quality):

  • 10 out of 10 bags; I walked away with lots of helpful tips, a face chart to reference and a mini haul

Likelihood to purchase again from Mecca Maxima:

  • Cindy is by far and away my favourite, but I will gladly buy from any of her fellow workers when she's not there

NARS Arabian Nights Trio - Review and giveaway

Back in November I received an e-mail from Mecca Cosmetica; they were advertising the fact that NARS Holiday 2011 Collection had finally landed. Of course I happened to be reading this tidbit of info on my phone as I was making my way home from work - a stop at Myer was absolutely necessary. I zipped through the entrance and zeroed in on the NARS counter, rounded the corner and spotted NARS Fall 2011 display. What the heck, I thought as a puzzled look ran across my face, my bewildered expression happened to signal one of Mecca's store associates to come to my rescue.

Store Associate (SA): "Can I help you?"

Me: "Yes, I am looking for NARS' new eyeshadow trio."

SA: "Ah yes, let me grab one from the drawer."

Yay, I thought as he rummaged through the drawer for a few moments - those 30 seconds of waiting were agony and scared me so much at the prospect of not being able to scoop up my latest obsession.

SA: "Here we are!"

Me: "Great, how much is it?"

SA: "$89 dollars."

This information came out without a flinch or pause; $89.00!!!  I took a moment to think and said I'd like to have more information about it for my husband in order to add it to my wish list for Christmas.

SA: "Honey, you'll be lucky if our stock lasts another week."

Me: "I'll take it!"

And that exchange right there alerted me to the fact that I have a major problem.  My name is Nicole and I am a makeupaholic.

Can I get a resounding "Hello Nicole"!?

*crickets*

I stood there feeling mixed and confused about what I had done and I think the sales associate saw me as a bit of a wounded pup before leaving.  Perhaps I whimpered without even realizing it, because he threw in a sample of Diptyque's Vetyverio.  Home I walked feeling astray, guilty and with an inkling of needing to run back and return my moment of regret.  And there ladies and gentlemen is where this story does not end.

As tantalizing as this limited edition trio appears, my shaky emotions were further solidified when I sat down to swatch and take pictures.

See for yourself…


Forgive me makeup goddesses I was so bewitched, a huge oversight was inevitable.  I really should have asked to test this before purchasing.

Lesson learned - I will never be afraid to ask what it truly looks like before I buy.  I realise there might be someone out there willing to add this trio to their collection.  For me, I was hoping to play with the three colours, but you might be drawn to the varying shades (used loosely here) as seen above.  If this baby is for you, let me know - it's yours for free (shipping too).  Rest assured, application was done via a sterilized brush and q-tip (for wet swatches).


The Bagful breakdown:

Total amount for NARS Arabian Nights:

Value for money spent (performance and quality):

  • 3 out of 10 bags; the quality is there, but variety is lacking.  I definitely expected to be wowed.

Likelihood to purchase:

  • As much as I love NARS I think I am going to have to test here in Australia and buy from the US, based on price alone.

The Rules:

  • Enter to win (1) NARS Arabian Nights Trio purchased by me in November 2011 for the sole use of swatching/testing.  This product was gently used by me; please take this into consideration should you decide to enter.
  • This giveaway is open to adults aged 18 years and older (or get your parent's permission).  You must have a valid mailing address.  Also, this item is up for grabs internationally.
  • I will happily accept entries through 31 December 2011 by no later than 11:59 PM local time.
  • How to enter – Send me a tweet if you have an account or leave a comment here.  Choose whichever option you feel is best; only one entry is required.  If you submit more than one, you will be disqualified.
  • The winner will be chosen randomly via http://www.random.org/
  • I will notify the winner via their chosen method of communication and will also send out a congratulatory tweet.  You will have 24 hours to claim this gem.  Should you fail contact me within the time frame specified, I will choose someone else again at random.

Good luck and thanks for reading!


Date Night

Fingers Crossed, Scott and I will be off to experience GingerBoy here in Melbourne's CBD this evening. I took the liberty of making reservations a few weeks ago upon hearing an insanely great review from my co-worker Matt; Asian fare and drinks is what Scott really needs after extinguishing work fires all day today. In order to prettify myself, I wandered off to the newly opened Topshop inside of South Yarra's Jam Factory and ended up hauling off with some of their makeup and a fun polka dot dress.  I planned to save the dress for work later this week, but I accidentally rubbed some of the lipstick I swatched onto a really cute dress I purchased from the Gap.  C'est la vie.

I completely forgot Topshop carried makeup; I've read a few reviews, but really haven't tried it out myself.  Going in blind, I grabbed several items to play around with.  The girls who manage the counter were nice enough to let me snap some photos of the kiosks nestled just before TopMan.  For the holidays, they're pushing two different eye-quads dubbed "Smoke & Mirrors" - I immediately thought of Gotye when I saw the theme; I've been a bit obsessed with his music as of late.

After looking through all they have to offer (brushes, wipes, nail polish, bronzer, high lighter, etc.) I handed over a couple of shillings and ran back home to paint on my date night look.

First the haul:

Second, the look:

And one more!

Last, what I wore:

Face:

Eyes:

Lips:

I almost forgot to share the photos I took earlier today!  I tried to be stealthy and then I mustered up enough strength to just ask if I could do so.  A while back I took a picture of MAC's Wonder Woman display and I was asked to delete the images from my phone; it's only natural for me to be fearful.


The Bagful breakdown:

Total amount spent on four items:

  • $53.00 AUS

Value for money spent (performance and quality):

  • 10 out of 10 bags; each item averaged out to be $13.25 and I was really impressed with their on trend collection

Likelihood to purchase from Topshop again:

  • I'll wait for the hype to die down and head back after the holiday season

I'm really loving my Barbie pink lips!  Have you had your Topshop fix yet?

Violent Lips - review

I was wondering when I'd finally see this product on the other side of the Pacific; Australia typically lags behind on trends pertaining to makeup and this always kills me.  During my usual circle through Priceline today I spotted Violent Lip's display nestled next to Rimmel London's products - not sure why they were there, but I don't think Zooey Deschanel minded either. The new display detracted from Rimmel's botched photoshop job, sorry Zooey.  I had my pick of the litter as there were lots to choose from and I'm starting to think I should've purchased more than one package, drats! One package includes three lip tattoos and goof-proof instructions; word to the wise, watch the tutorial in order to get an even better idea of how to execute this.  I neglected to taper off the ends and instead bluntly cut off any excess, much like that time I decided to trim my own eyebrows - true story!

As you can tell, I opted to go with the pink and white polka dot lips.  Application was relatively easy after sizing and trimming them down; I used a moistened cotton face swab and smoothed the swab over the decals until the backing began to give way. Total elapsed time was less than five minutes. In the directions, Violent Lips clearly states that your lips need to be free of any products and absolutely dry in order for the tattoo to adhere properly - it's important to note the decals are tacky, which aided with placement.  After applying them, I went back in with my chapstick because they felt so dry.  I found the tattoos settled within the peaks and valleys of my lips, but don't be alarmed because it didn't take away from the overall effect.  Wear time lasts between four to eight hours; keep in mind drinking and eating might lessen the quality.

Update:  When I decided to remove the temporary tattoos (just before bedtime) I referred to the instructions for help.  Violent Lips states you should apply mineral oil or baby oil directly on your lips and wait for 60-90 seconds - then, you're to take a textured cloth or wipe and rub gently.  I didn't have any of the items they specified, so I used olive oil and a damp face cloth instead.  Boy did my lips feel baby soft!


The Bagful breakdown:

Total amount for Violent Lips (package of three):

  • $14.95 AUS - there isn't a price difference between here and the US

Value for money spent (performance and quality):

  • 8 out of 10 bags; a little bit on the expensive side, but still worth the novelty alone

Likelihood to purchase again from Mecca Maxima:

  • I can't wait to try the pink sparkly lips