Wash less to experience the benefits
/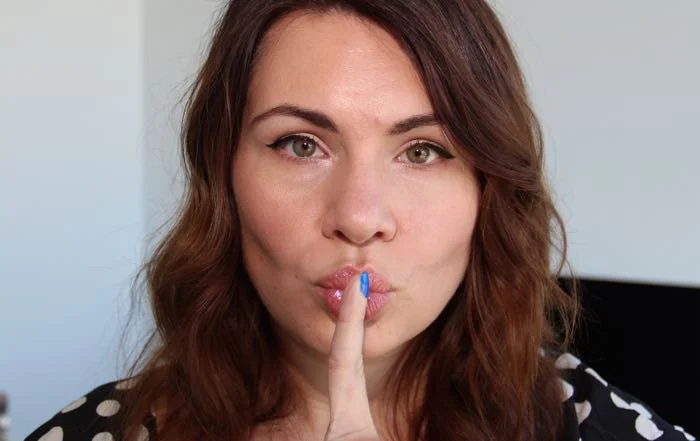
Can you keep a secret?
Confession time: I only wash my hair three times a week, and wash my face precisely once a day. I know what you're thinking, gross! Am I right? Well, hate the idea as much as you want, but I promise you'll begin seeing the benefits in the not too distant future.
It's taken me almost a year to kick the habit of washing my hair every day. You see my hair fell under the F/R/AZY category, think Fine, Frizzy, Wavy, and while I'm at it, pretty darn tired. My hair lacked life, vitality, shine, and general style, but now that I wash my hair every other day my hair remains grease-free for longer spans of time, it can also hold a curl for more than a day, and the frizzy fly aways are truly a thing of the past.
Time, and the commitment to this restrictive washing schedule cured my hair woes. Your scalp's natural oils are your best friend, so stop trying to rob your hair, and give it [fewer shampoo sessions] a go, even for just a couple of weeks. Truth be told, I've gone up to four days without washing my hair, and I felt like Kramer pushing the gas gauge to the way beyond.
As for the once a day face washing, that's only a recent revelation, and I have NARS' makeup artist Beck to thank for that. During a consultation last week I complained that my liquid foundation was sliding down my face, pooling around my nostrils, and settling within the pores and fine lines (sneaky buggers). Upon hearing this bit of information, Beck asked, "how many times a day do you wash your face?" I proudly exclaimed, "twice a day!"
Heck, I thought I was doing it right by keeping my face squeaky clean.
Beck went onto explain that once a day is more than sufficient. Excessive cleansing forces the skin to overproduce sebum in an effort to rehydrate itself. Sebum is not the enemy as it keeps the skin properly moisturised, and it also works as a natural barrier to protect the skin. It's important to note the presence of too much sebum can make your foundation fail, causes nasty breakouts, or might even lead to acne.
Going forward Beck requested that I pamper my skin at night, and only rinse my face off with lukewarm water in the morning before applying any skin care products, and makeup. I'm only a few days into this experiment -- the shine across my T-Zone isn't nearly as bad as it used to be. Let's see if normal skin is in the cards for me, and maybe even you.
Food for thought: You'll be using facial cleanser, shampoo, and conditioner a lot less. Maybe it's time to treat yo self, and invest in the luxe stuff as it'll last longer!
// For further reading: