Currently testing: Urban Decay's Electric Pressed Pigment Palette
/
Urban Decay's Electric Pressed Pigment Palette
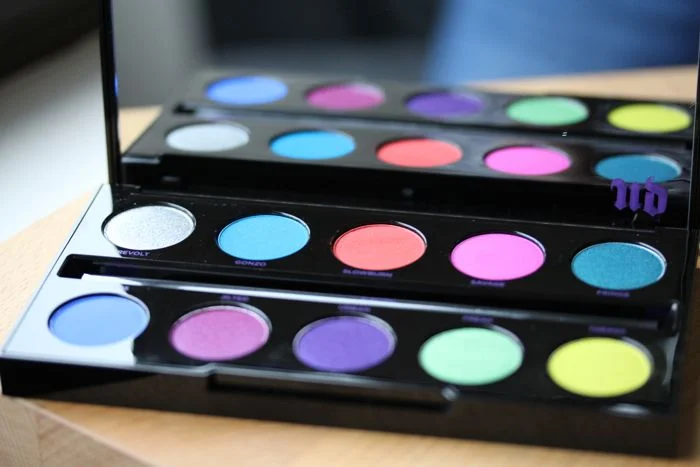
Parental Advisory: Explicit Content
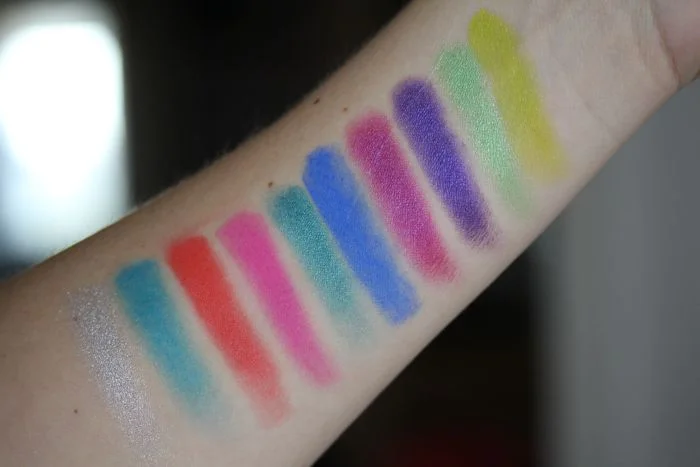
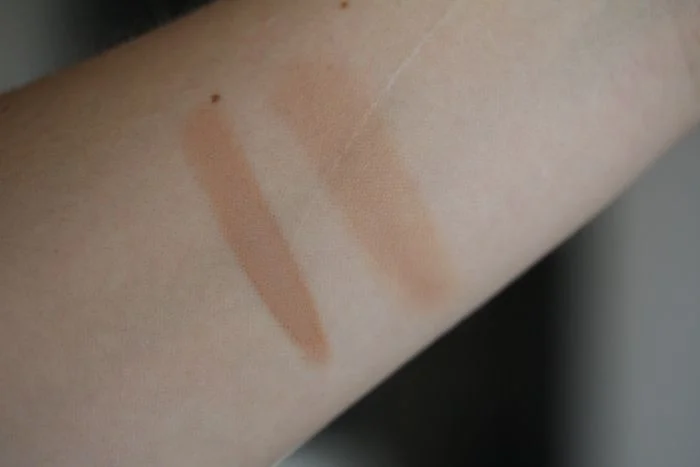
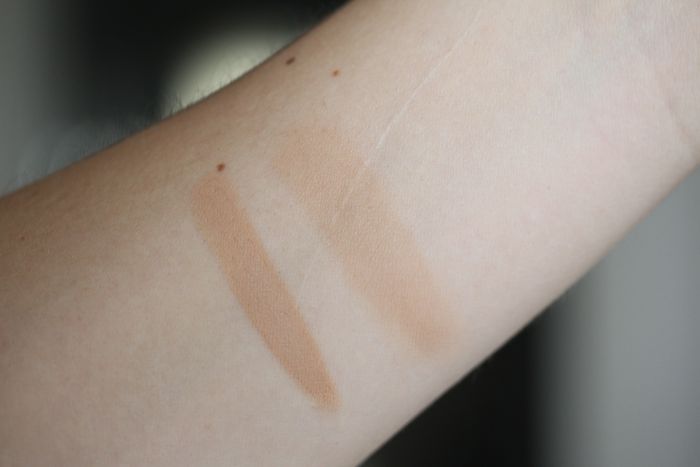
Swatches of all 10 shades from left to right: Revolt, Gonzo, Slowburn, Savage, Fringe, Chaos, Jilted, Urban, Freak and Thrash
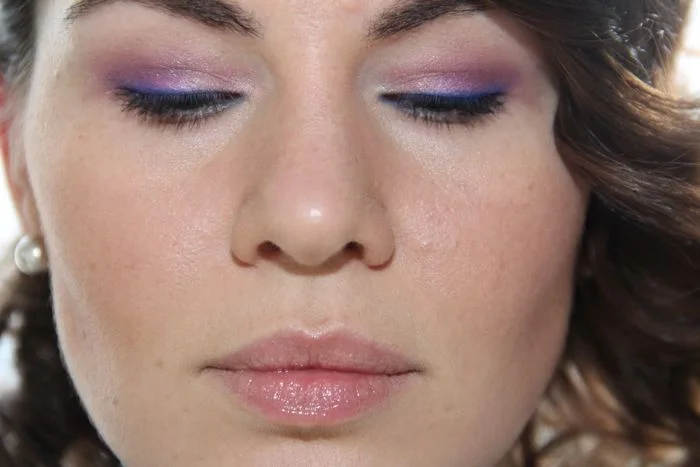
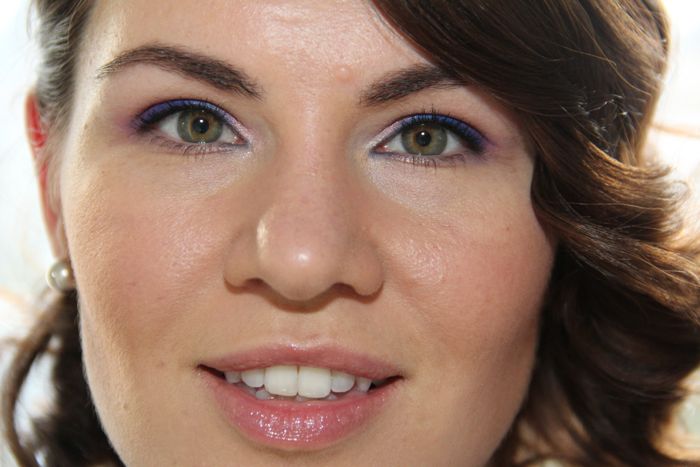
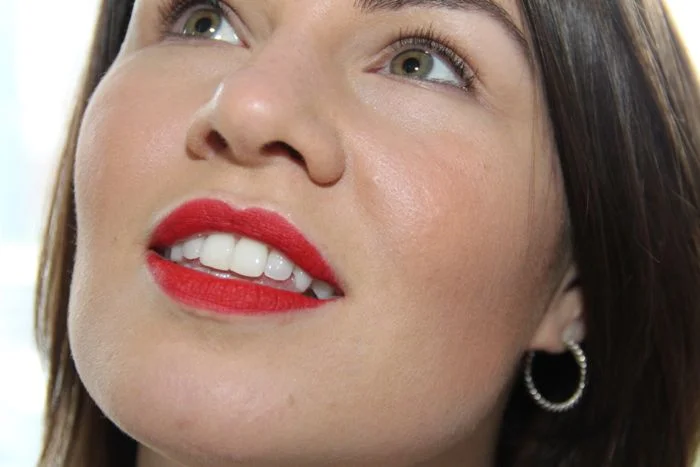
Wearing Chaos, Jilted and Urban along with several paler shades from the Naked 3 palette