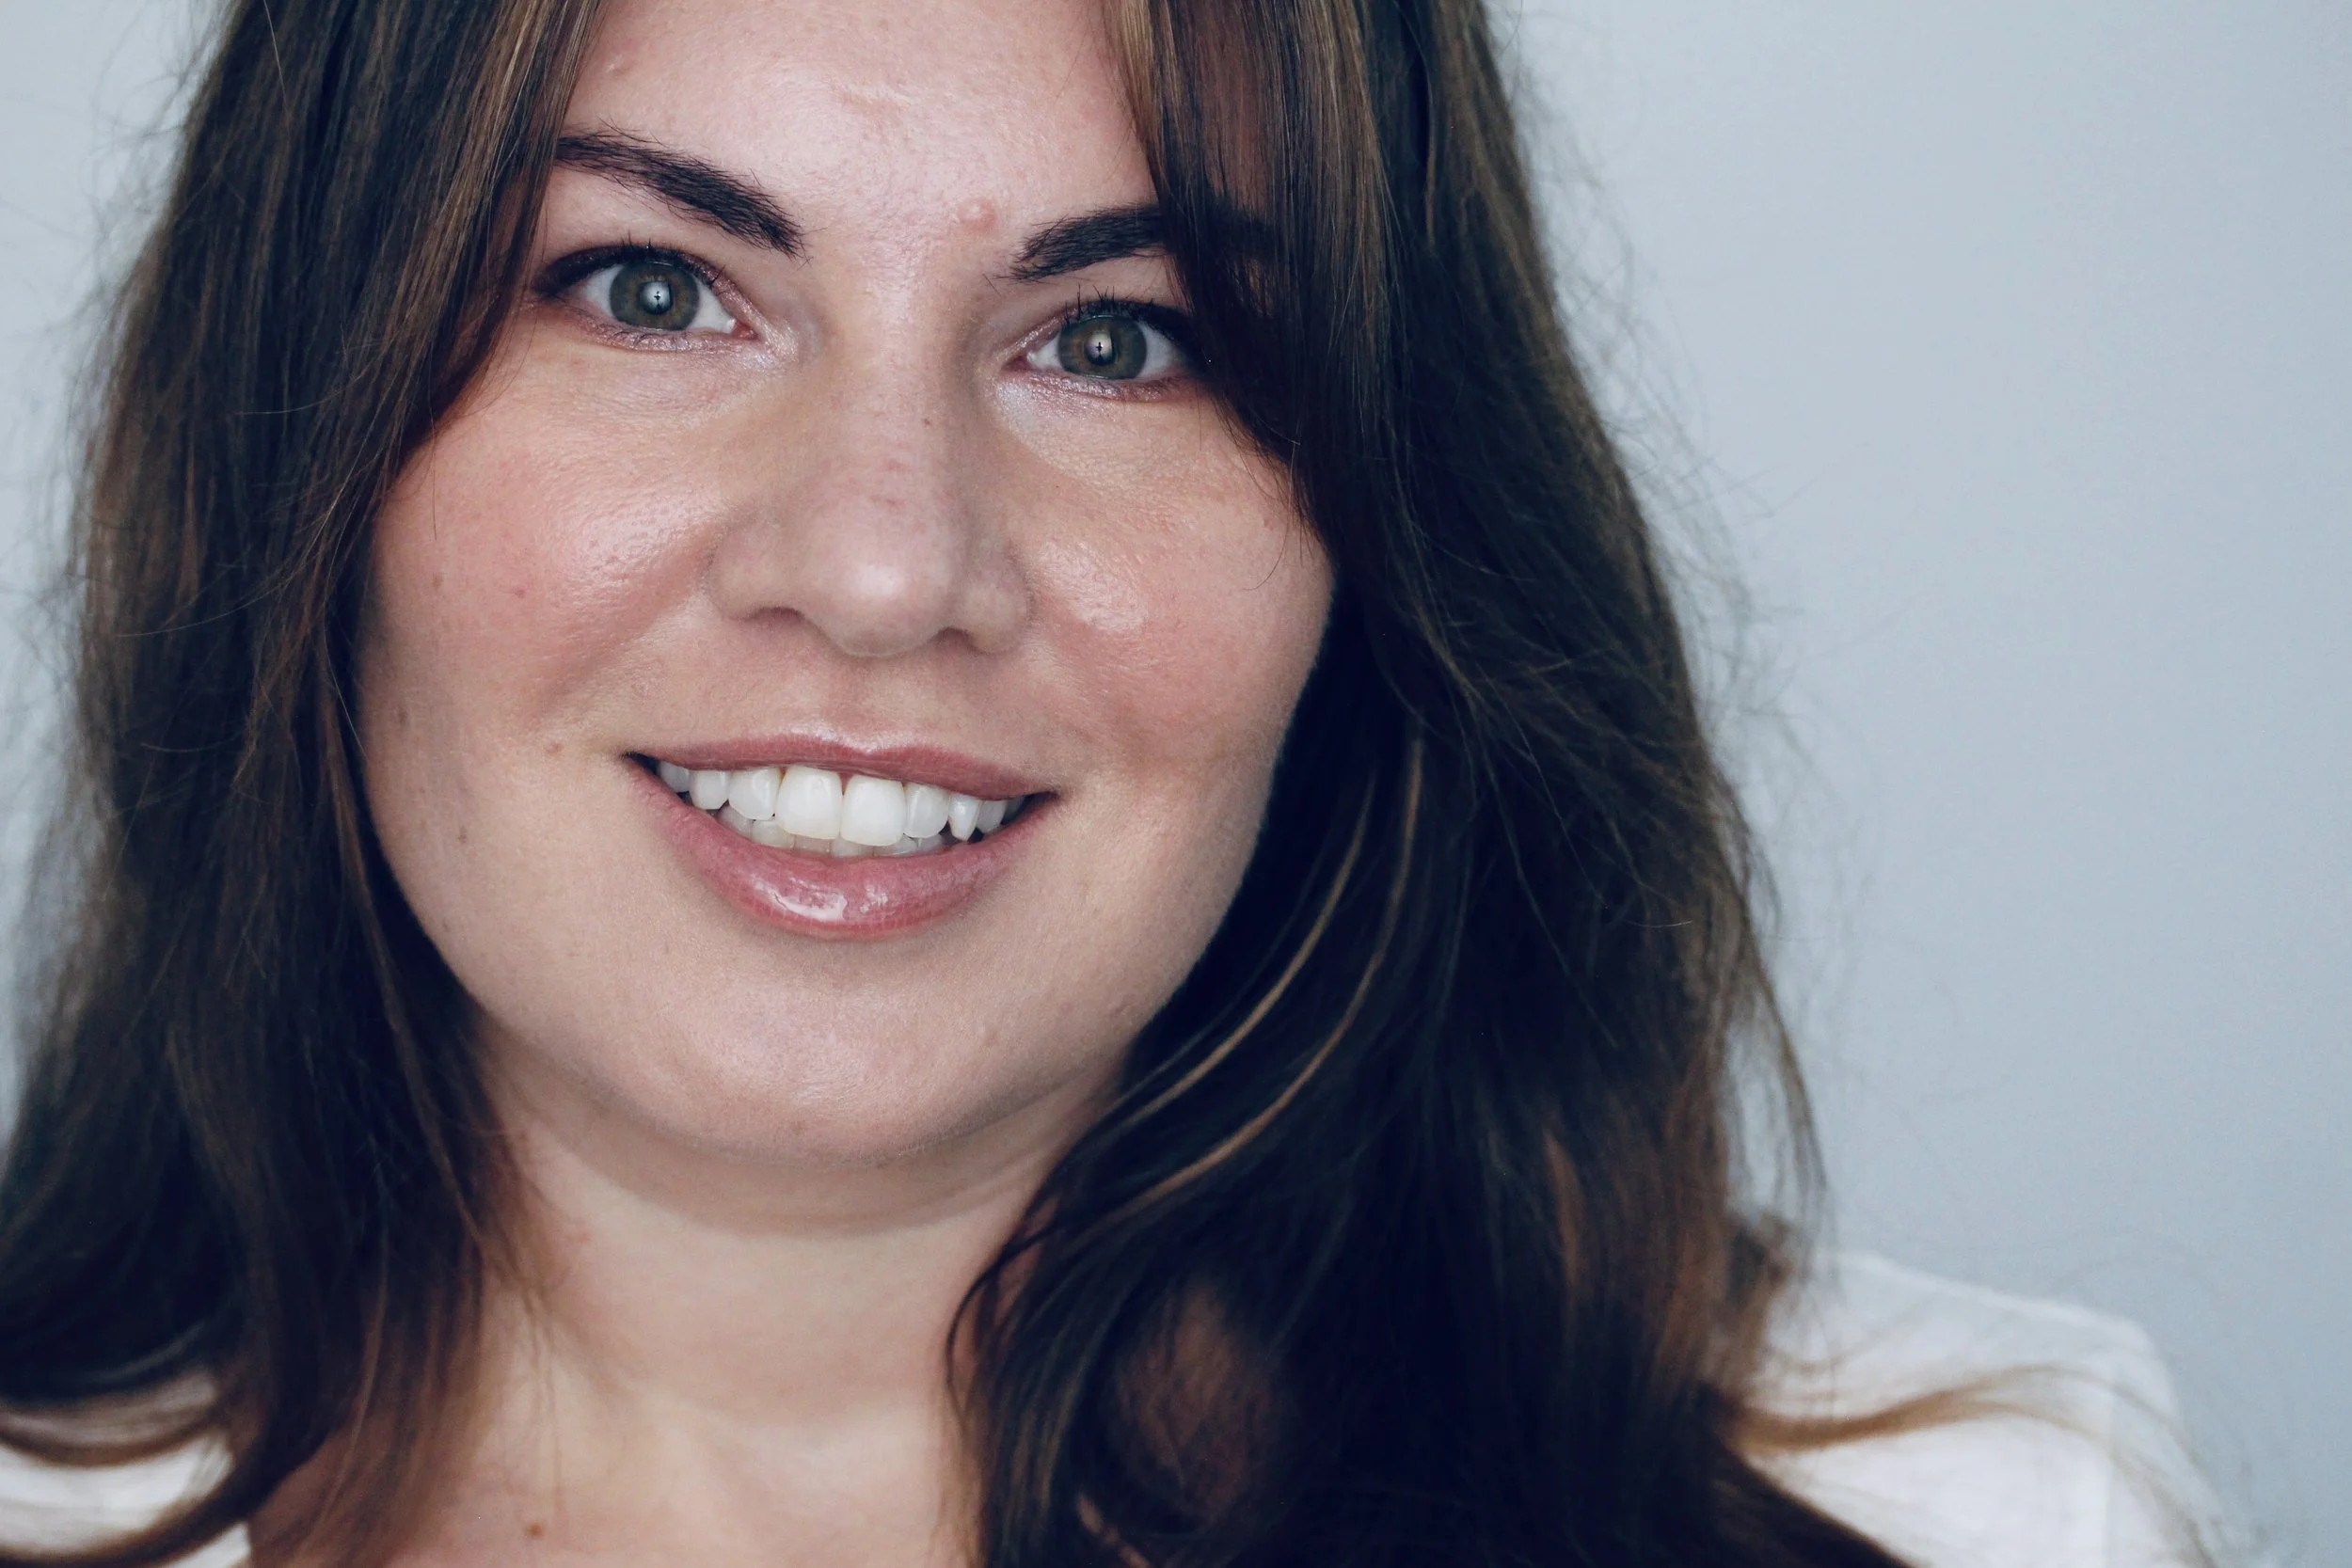
How to create effortless waves with your straightening iron || video tutorial

Last week my friend, Diana, e-mailed me with a request to teach her how to create waves with a straightening iron.

Admittedly, this technique takes a little bit of practice, but after a few times I promise you'll be able to do this too.

Before you start, be have the following items handy:

  • Dry shampoo (not mentioned in video) -- if the hair framing your forehead is on the greasy side, it's always best to prep this area first.
  • Flat/straightening iron with a slim profile, preferably with ceramic plates as I find it leaves hair with a smoother finish.
  • Texturising spray to set the waves.
  • A comb
  • A few hair clips to section the hair off.

Hopefully this video gives me a good kick in the butt to start blogging again.

How to apply almost every single shade from Urban Decay's Naked 3 Palette. Almost.

The palette in question

The palette in question

Urban Dacay's Naked 3 palette happens to be my most-loved and used eyeshadow palette ever and I have no qualms about recommending it to others. But what do you do whence confronted by all twelve shades; some might tuck it away, curl up in a ball and call it a day. Others, like myself, will rise to the challenge and find a way to use them all.

Mersaedes, this one's for you.

Let's get started.

Tools of the trade

Tools of the trade

Here's what you need:

  • Primer, preferably one without shimmer
    • NARS Smudge Proof Primer - appears white, dries clear
    • Urban Decay Eyeshadow Primer Potion (Original) - beige in colour
    • Too Faced Shadow Insurance Primer - beige in colour
  • A foundation brush and Q-tips for post-application clean up
  • Spooly brush to rid your lashes of any mascara clumps
  • Eyelash curler
  • Mascara
  • Brown Eyeliner - I'm in love with Marc Jacob's Highliner Gel in Ro(Cocoa)
  • A blending brush or you can use the double-ended brush that comes with the Naked 3 Palette. I used UD's brush to prove that it's possible to execute these looks with a mediocre brush.

Steps 1 & 2:

  • Grab your brown liner to tightline. I can't evenly apply eyeliner to save my soul, so I prefer to do this method as a cheat for fuller lashes.
  • Apply Limit on your eyelid and blend out any harsh edges just above your crease.

Steps 3 & 4:

  • Highlight your brow bone with Strange.
  • Next, apply Burnout to the outer corners.

Steps 5, 6 & 7:

  • Highlight the inner corners of your eyes with Dust
  • Apply Mascara
  • Clean up any fallout

Now, you can stop here or skip steps 6 and 7 to take this look a bit further.

Step 8:

  • Contour your outer crease with Factory to add a bit of dimension
    • Be sure to blend like it's your job

Steps 9 & 10:

  • Lightly dab Trick on the centre of your eyelid for a pop shimmer.
  • Starting from the outside and working your way in, line your lower lash line with Darkside and blend into Dust. 

Steps 11 & 12:

  • Load the smaller end of the brush with Blackheart to define the outer v.
  • Smoke things out some more by layering Mugshot over Blackheart and Trick

Steps 13 & 14:

  • Build up the shimmer factor at the centre of the eye lid by layering Buzz over Trick.
  • Finally, paint on a healthy helping of mascara and be sure to clean up eyeshadow spillage from the under eye area.
Close up of the final look

Close up of the final look

Jush your hair, pucker your pout and grab your dancing shoes because it's a three day weekend.

What sort of eye looks have you put together with UD's Naked 3?