Curling irons need not apply
/
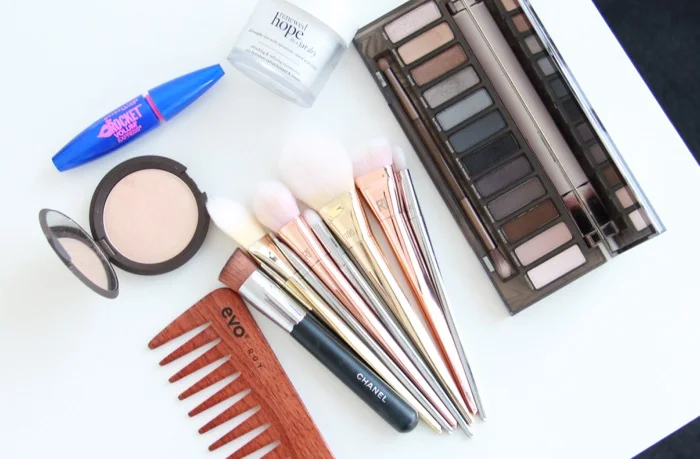
The artillery
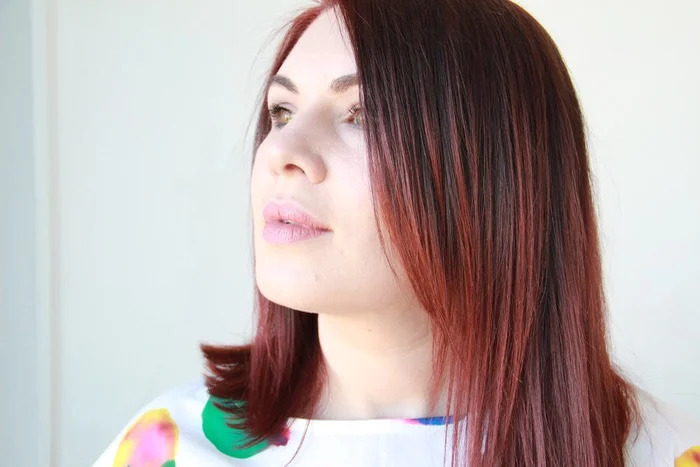
During our latest trip to Kauai, aloha, I haven't done all that much with my hair thanks to the humidity hovering well above 30% on most days. To add insult to injury, my hair is in a wretched state from repeated heat styling, and transitioning from bronde ombré to red. First world problems.
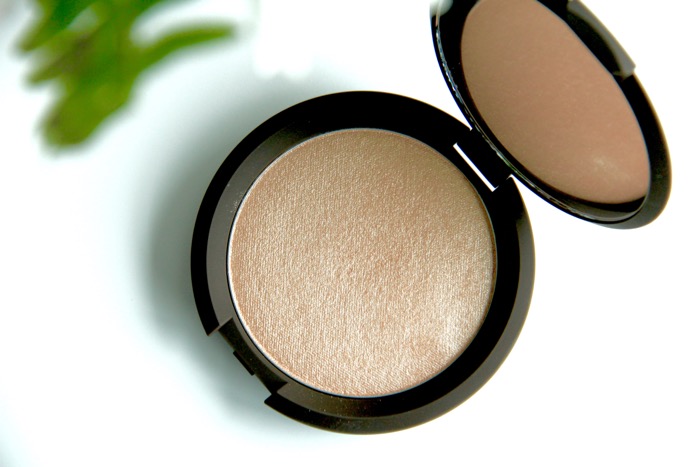
Before leaving for Hawaii I went in search of a leave-in treatment that would protect my fragile strands from the harmful UV rays, as well as give them a potent dose of hydration. Enter De Lorenzo's Intense Hair Moisturiser, specifically formulated for dry, colour treated hair.
There's a bit of a learning curve when it comes to applying this stuff. The first few days of use produced greasy strands near the nape of my neck, while the remainder of my hair continued to feel straw-like. To avoid over hydrating the healthiest bits of my hair, I first concentrated on my ends, and finger combed the rest near the crown of my head.
This post isn't meant to be focussed on hair care product, per se, but I felt it prudent to at least provide a mini review😊
Ponytails (I'll land the plane, promise). I've never liked wearing ponytails, except for when I'm exercising; besides, I don't think I have the profile to pull one off (an odd quirk of mine). In an effort to not fall into yet another hair rut I've gotten into the habit of inverting my ponytail (the one where you split your hair apart just above the hair elastic, and then flip the ends up and through). It looks effortless, especially as it becomes undone throughout the day.

The inverted pony
After leaving my hair to air dry for a few hours never did I expect to unfurl loose, beachy waves. Mind blown.
Hair how to:
- Start with damp hair, the saltier the better
- Part hair down the middle or to one side
- Comb through a leave-in treatment, focus on the ends
- Pull hair into a low ponytail and secure with an elastic hair tie
- Split your hair apart just above the hair tie, twirl the loose ends, and flip them up and through
- Allow your hair to air dry for around three hours, it should feel dry to the touch
- Gently remove the hair tie, and finger comb your waves
For an added bonus if you didn't take a dip in the sea, set your waves with a sea salt spray. My personal favourites: Frederic Fekkai's Soleil Beach Waves Tousling Spray, or John Freida's Beach Blonde Salt Spray.
For girls with longer hair: double or triple up on the number of inverted ponytails.

The results
Tip: leave some slack when you're tying on the hair elastic to avoid the dreaded hair dent. If it feels too loose, pull the ends apart to tighten your inverted pony.