How to apply Nars All Day Luminous Weightless Foundation
/Stumped on how to apply Nars' All Day Luminous Weightless Foundation? I certainly was!
Despite my tireless pursuit to learn how to make this persnickety foundation work for me, I've officially thrown in the towel. In other words, I'll be returning this bottle ASAP.
Fret not normal skinned people, Nars' All Day Luminous Weightless Foundation might just be the foundation for you. For oily/combination gals, be sure to check out Kitsch Snitch's review.
Other products used and/or mentioned in this tutorial:
- Eve Lom's Mineral Powder Foundation in shade no. 4 Petal
- Chanel's Vitalumiere Loose Powder Foundation
- Laura Mercier's Secret Concealer in shade 1.5
- Cosmedics Antioxidant Hydra-Mist
*Edit* I suffered some sort of reaction to Cosmedics Antioxidant Hydra-Mist shortly after filming this video. If you have sensitive skin, please do not use this product.
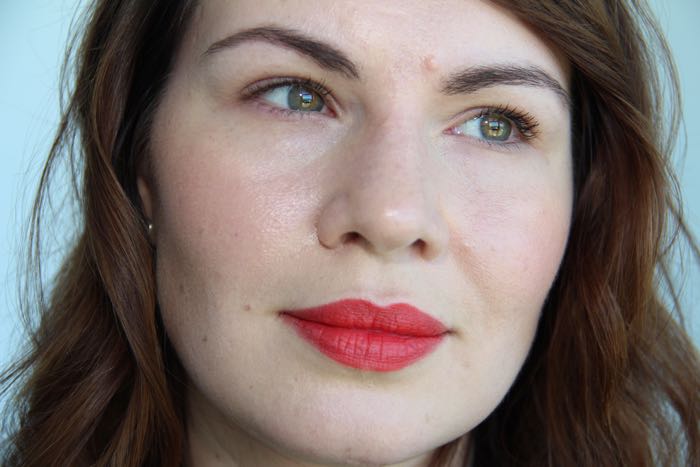
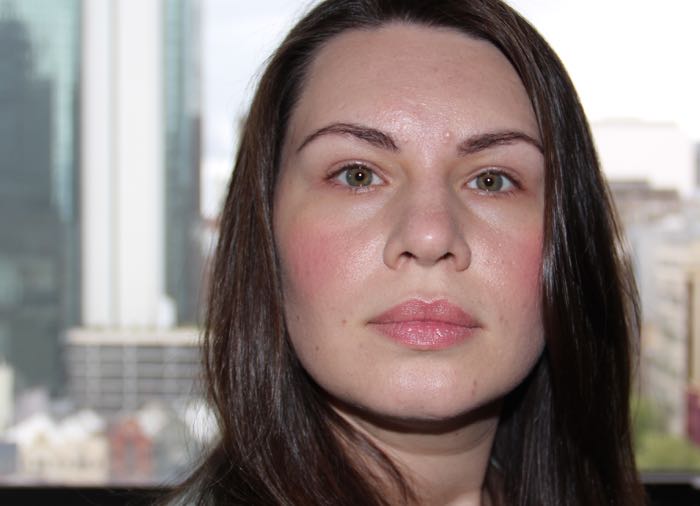
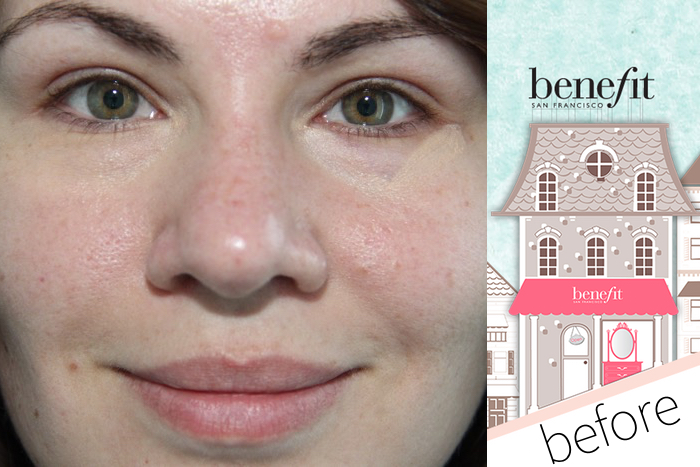
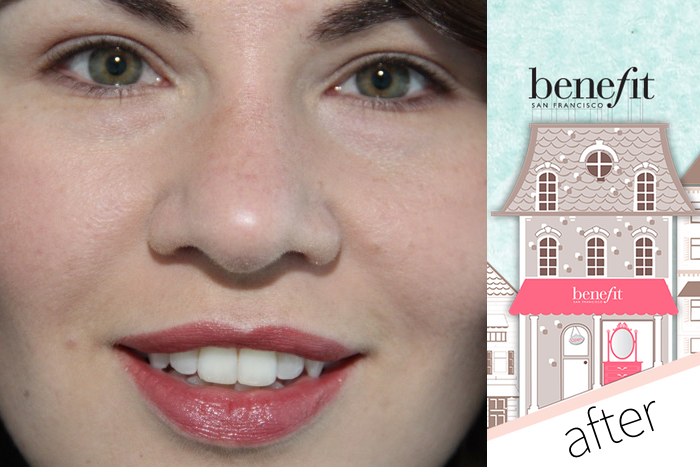
And on closer inspection, here I'm wearing Shade Light 4 in Deauville a few weeks ago

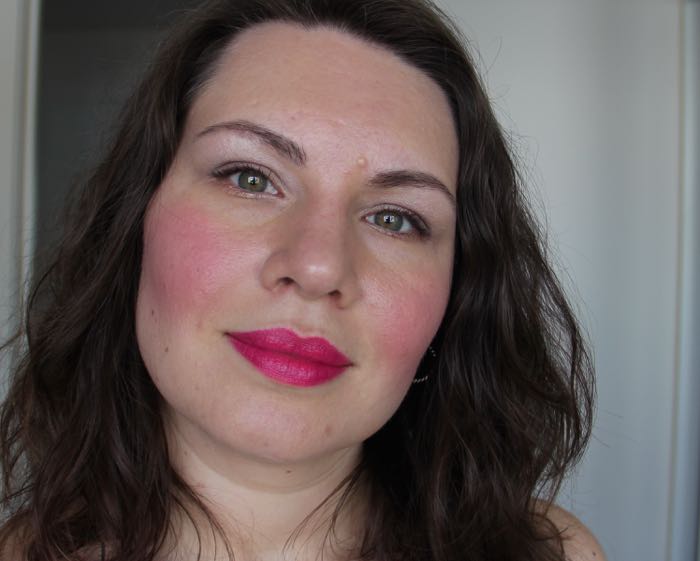
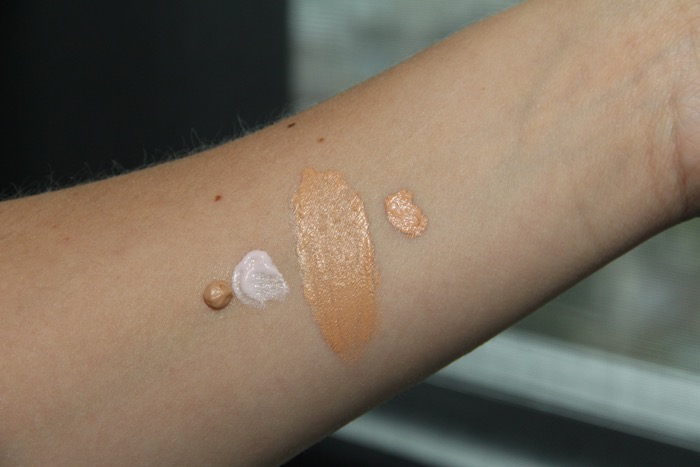
Swatch of deauville slightly blended out
Swatch of Deauville fully blended out