How to achieve the million dollar eye with a handful of Benefit products
/
Let's mix things up a bit
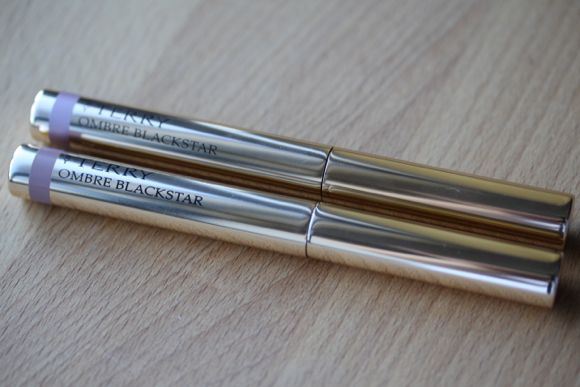
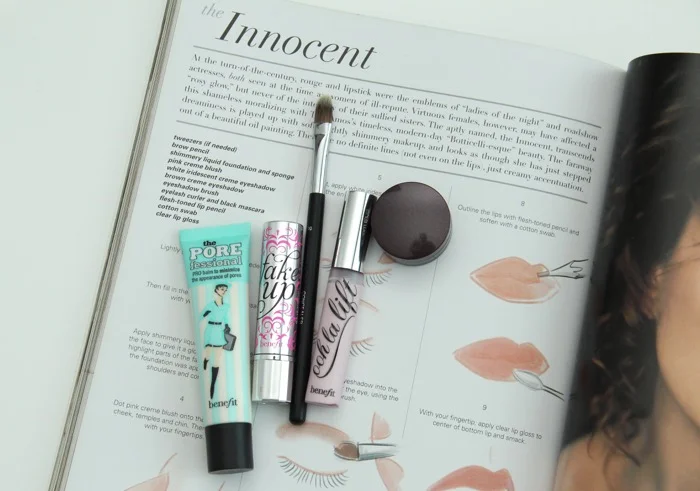
I think it's safe to assume a few of you out there on Instagram enjoyed an impromptu image I posted yesterday of Benefits' The Porefessional, Fake Up, Ooh La Lift and Boi-ing!
In the name of beauty and general curiosity, let's breakdown Benefit's million dollar eye.
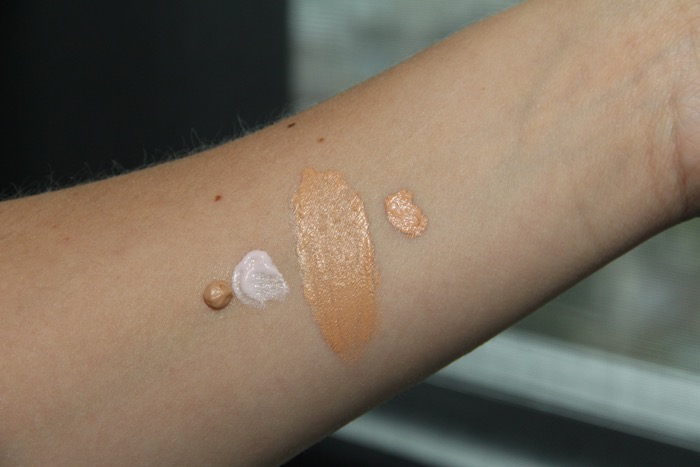
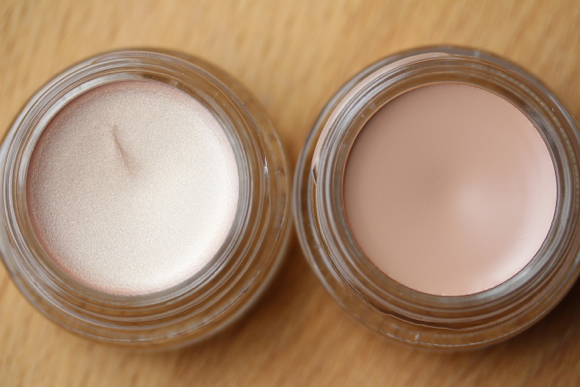
Swatches (from left to right): The Porefessional, Ooh La Lift, Fakeup in Medium, and Laura Mercier's Secret Concealer
Here's what you'll need (equal parts)..
- A primer (The Porefessional) to help smooth any fine lines, and wrinkles,
- An eye brightener/highligher (Ooh La Lift) to illuminate the eye area,
- A hydrating concealer (Fakeup), and,
- An industrial strength concealer (Boi-ing!), time to bring the big guns.
Feel free to use what you already own; I swapped Boi-ing! for Laura Mercier's Secret Concealer.
Tip: Depending on how much coverage you wish to achieve or for those who are budget-conscious, skip one of the concealers.
Using your fingers or a concealer brush, combine the products, and mix them together until they reach an even finish. Next, take a small amount of product, and draw an inverted triangle within the under eye area. The points of the base should match up evenly with the corners of your eyes, whereas the apex will hit the tops of the cheeks.
So, what's up with the upside down triangle? The inner half works to conceal, whereas the outer half lifts and highlights. I went with an equilateral triangle as my cheeks are fairly defined, but feel free to make your triangle slightly more acute to accentuate your cheekbones further. That said, I wouldn't bring the apex of the triangle down as far as the end of your nose.
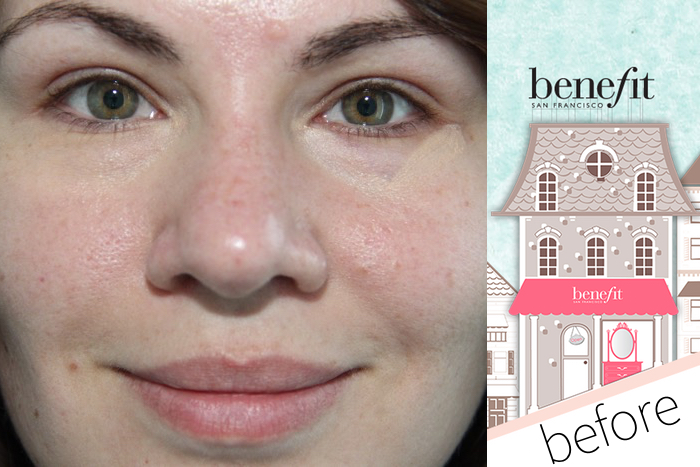
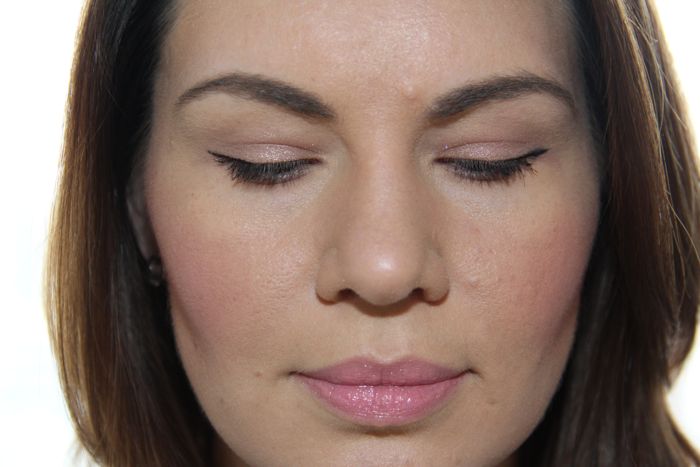
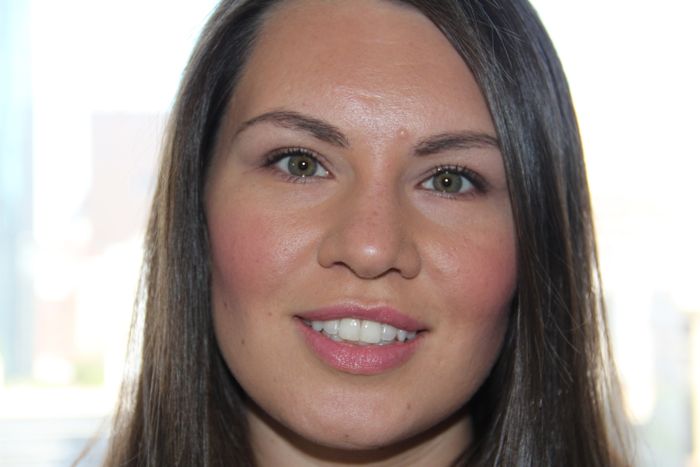
Before: no makeup
The image above is about as bad as it gets - pre-makeup, ruddy cheeks, pigmentation, blech.
If you draw your attention to the right side of the image, you'll notice I've lightly painted on the "triangle of happiness," the gateway to perked up eyes. On the left side of the image I've blended, and buffed the triangle to soften the lines.
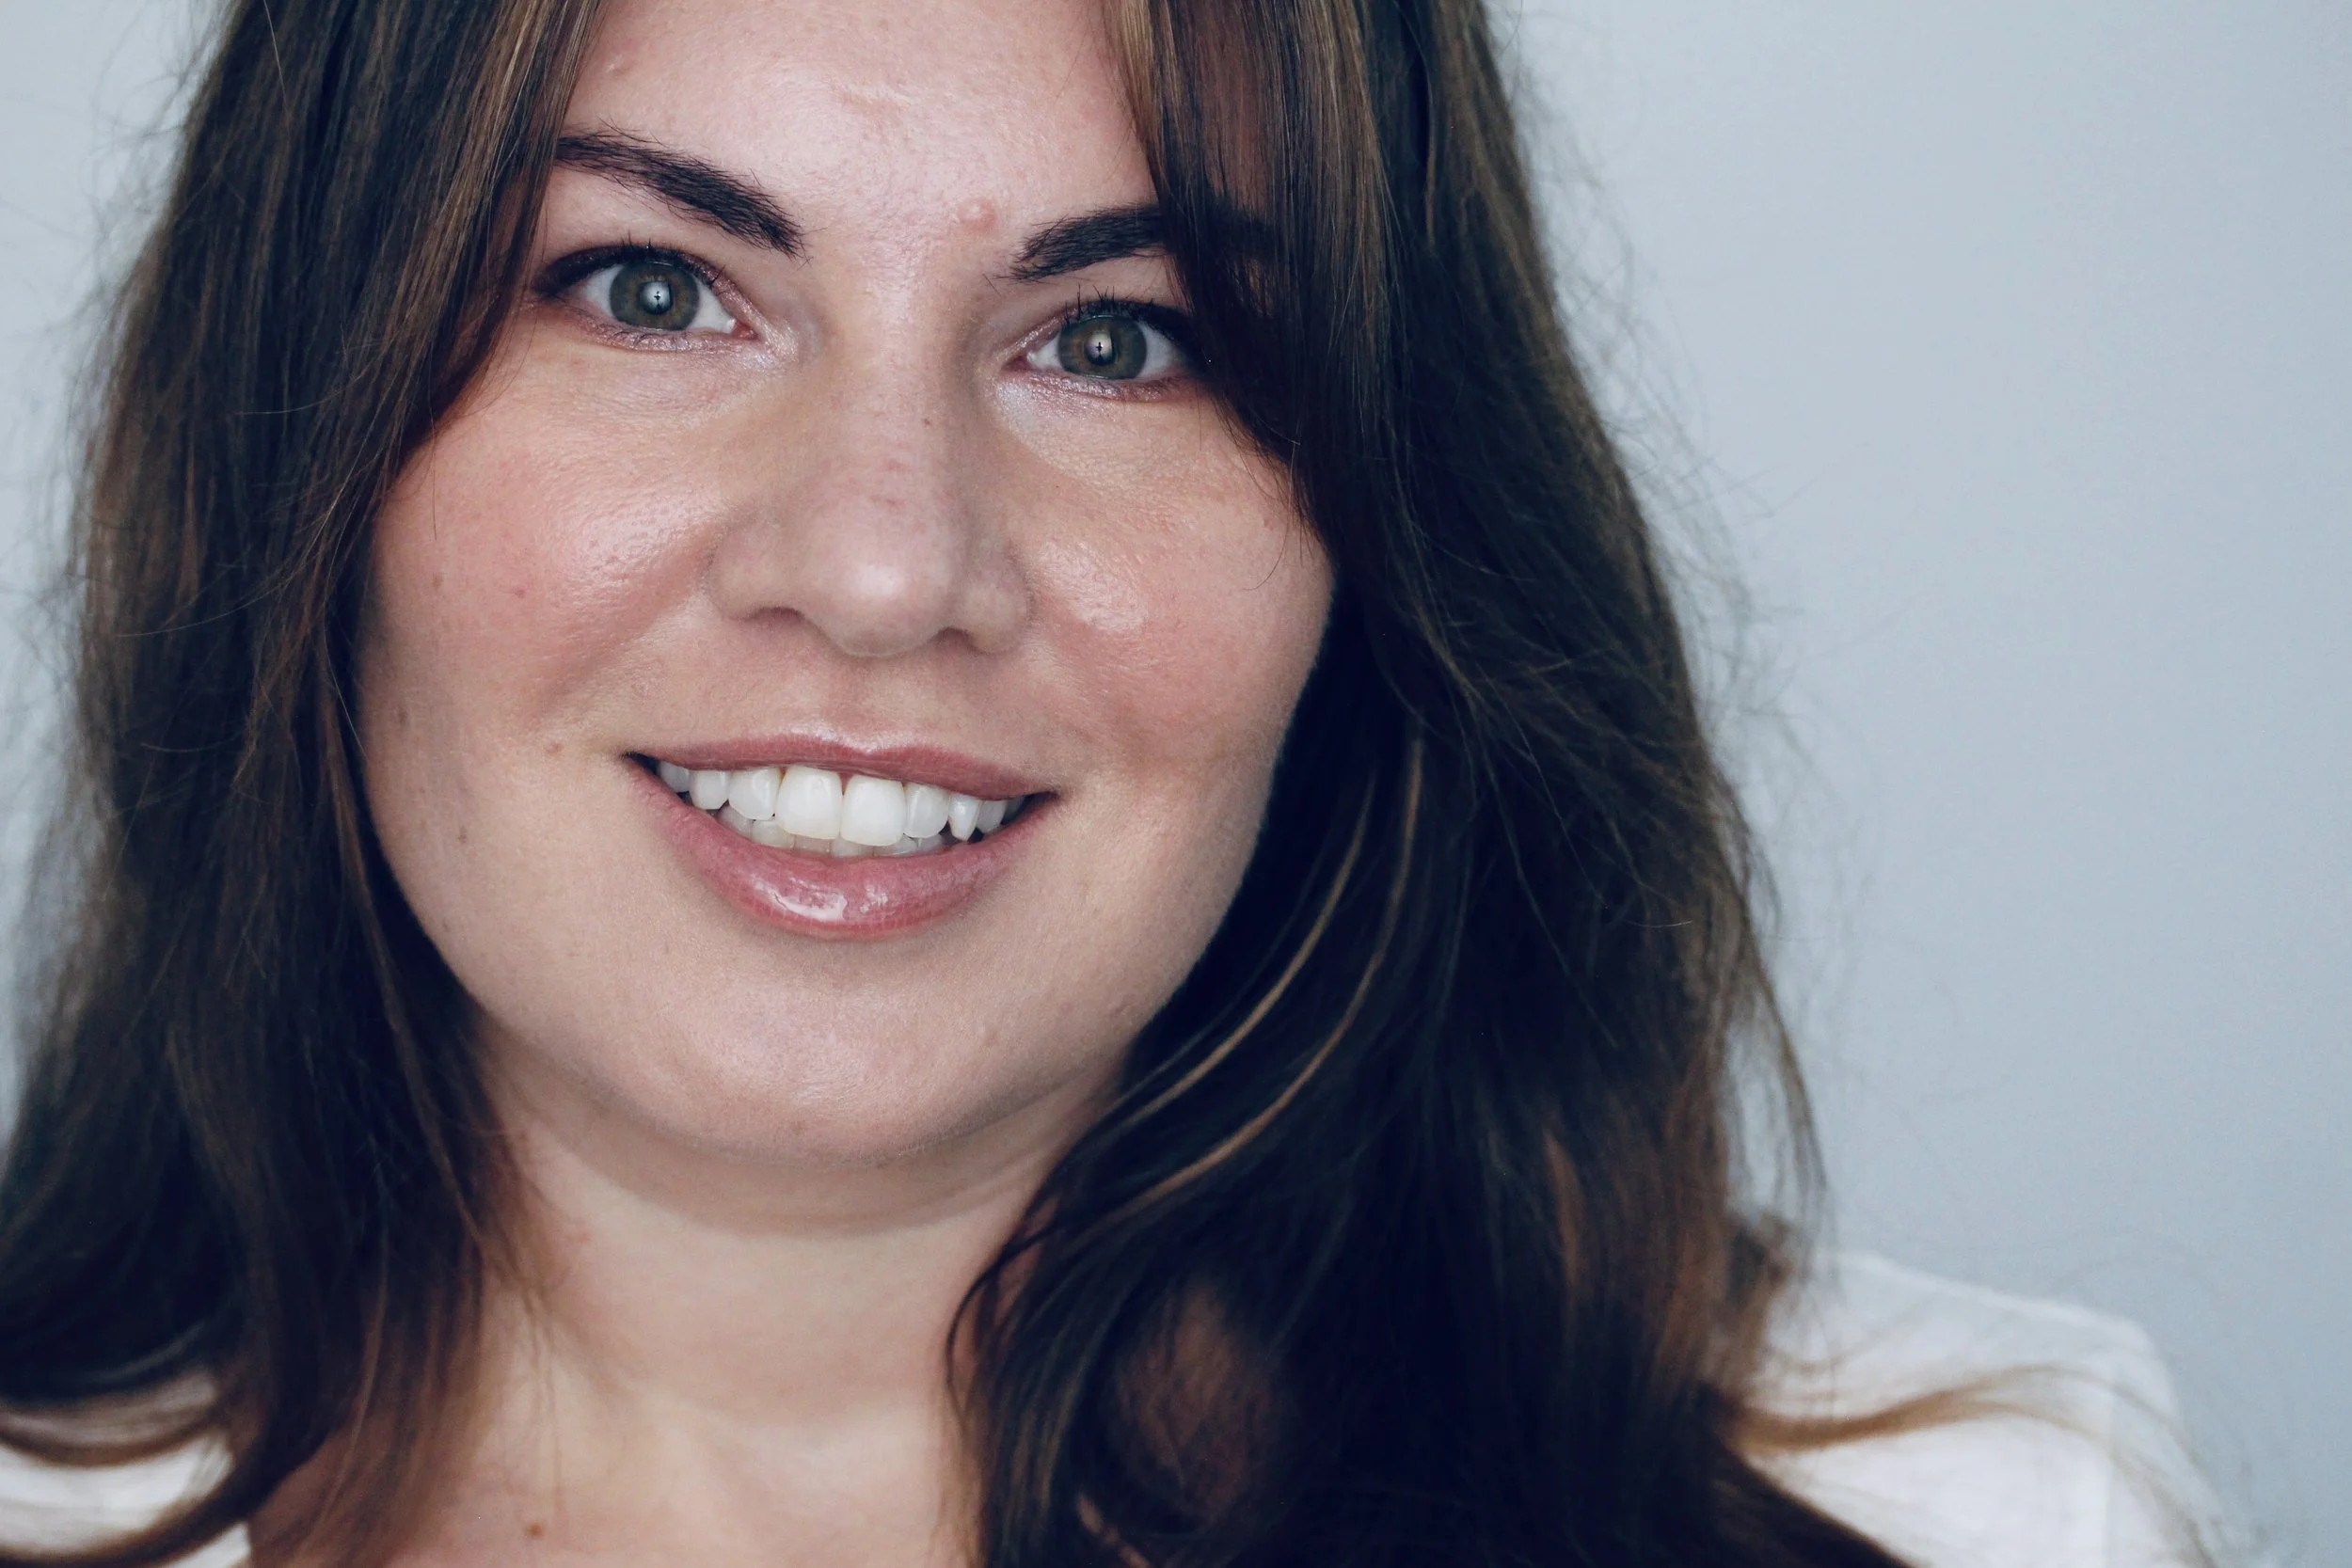
A little makeup really goes a long way.
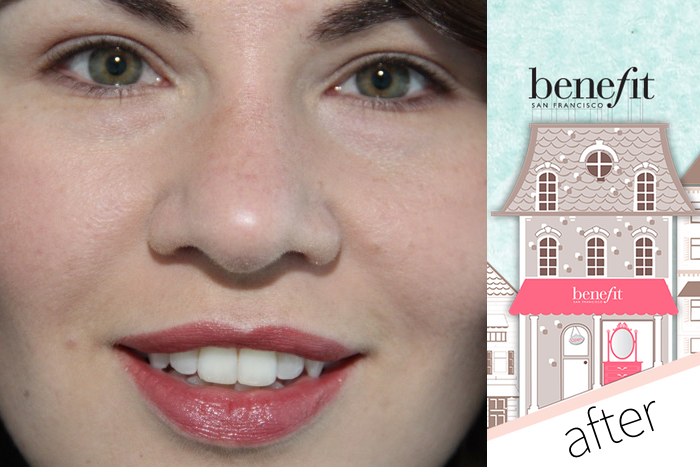
After
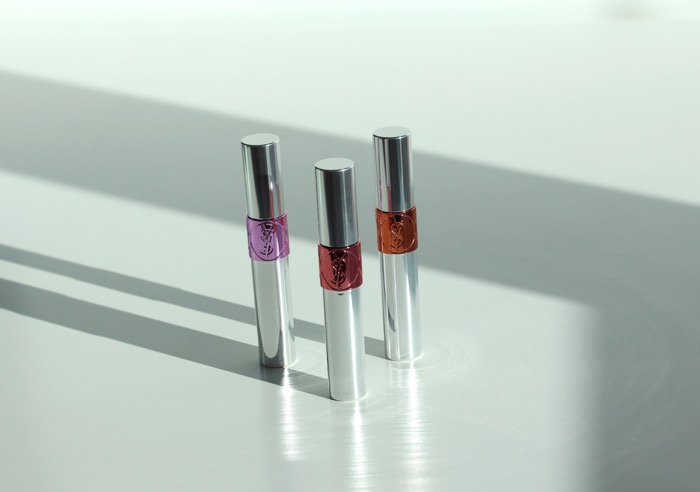
Don't feel like playing makeup bartender? Check out YSL's Touche Eclat, Maybelline's Dream Lumi Highlighting Concealer, or Bare Minerals' Stroke of Light Eye Brightener.
Now, kick those under eye circles to the curb.
*This is not a sponsored post, however PR samples (The Porefessional) were provided – Thoughts and ramblings written here are completely my own.